Regrouting &
Recaulking
- Remove caulk.
- Using HEPA filter dust extraction equipment, remove grout to sufficient depth to allow new grout to bond securely with tile bisque (unglazed body of tile).
- NOTE: Re-grouting without sufficient removal of old grout will result in a temporary cosmetic improvement that will begin chipping and peeling, usually within a few weeks or months. Columbia Tile & Grout will not employ this practice for any reason.
- Kill visible mildew.
- Install new mildew-resistant grout.
- Buff the tile surface to remove grout haze, soap scum, and mineral deposits.
- Recaulk all plane-change joints (e.g. corner joints) and joints between tile and non-tile materials with mildew-resistant caulk. This includes both sides of door frames and tracks.
- Seal all new grout with sealer that repels most stains and makes it easier to clean.
Cement Based, Epoxy-Based & More
Grout Cleaning
Picture this: you’ve just cleaned your bathroom and you’re looking at your handwork. You’ve cleaned the tub, washed the tile floors, and wiped down the mirror. You’re proud, but somehow your bathroom still doesn’t look quite clean. Why is that? Probably because you didn’t get to the grout cleaning.
What Is Grout?
Grout is the hard material that fills the joints, or grooves, between the tiles. There are several types of tile grout, but the most common are cement-based, epoxy-based, and urethane-based grouts. They are non-compressible and relatively non-elastic, so if the tile is not firmly set, the grout will crack. Cracks quickly fill with fine dirt and grease, which may make them hard to detect until the grout is thoroughly cleaned. In wet areas, cracks are likely to lead to water infiltration and damage to the installation. Wherever they are located, they are likely to lead to loosening and debonding of the tile.
Proper grout cleaning methods and cleaners will vary with the type of grout; the location and proximity to other surfaces, the nature of those adjacent surfaces; and the nature of the stains and contaminants that we are trying to remove.
DIY Grout Cleaning tips
WARNING: Unless you are a PROFESSIONAL chemist, NEVER mix different cleaners or chemicals to prepare your DIY cleaner. There are many dangerous and/or misleading online videos posted by “amateur chemists” about how to clean grout. Some of these methods are likely to produce deadly gases, such as chlorine or phosgene. These gases can kill people with a single whiff! And it can happen far too rapidly for any life-saving techniques. If you are lucky enough to survive, you may spend a week or more in the hospital and suffer permanent lung damage, blindness, or severe burns.
Other DIY cleaners are simply a waste of effort, e.g. mixing lemon juice or vinegar with baking soda. Lemon juice and vinegar are acidic, and by themselves may provide minimal benefit by dissolving the stained surface of the grout, but can also severely damage marble and other acid-sensitive stones. Baking soda is an acid neutralizer and a mild abrasive powder which, by itself or in water may provide mild benefit, but not without a lot of physical effort. When combined, the baking soda neutralizes the acids in the lemon juice or vinegar to produce carbon dioxide gas, water, and salt. It creates an impressive foaming action—that has virtually no effect on whatever contaminants you are trying to remove. If you think this method works, compare the result with that of water and dish detergent—or just plain water!
Note that most readily available commercial grout cleaning products contain special hazard warnings on the labels about protective measures the user should take. It is vitally important to read the entire label and follow the directions explicitly.
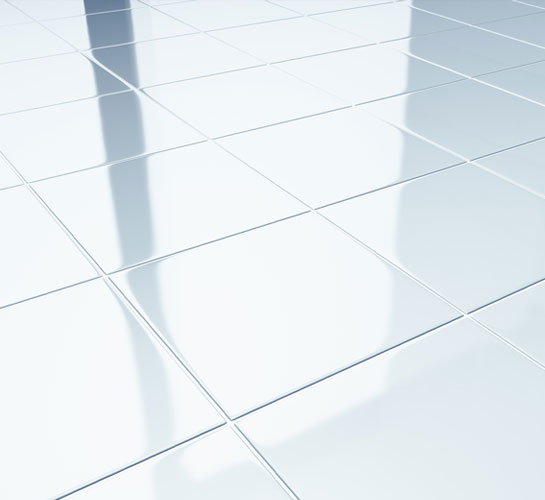
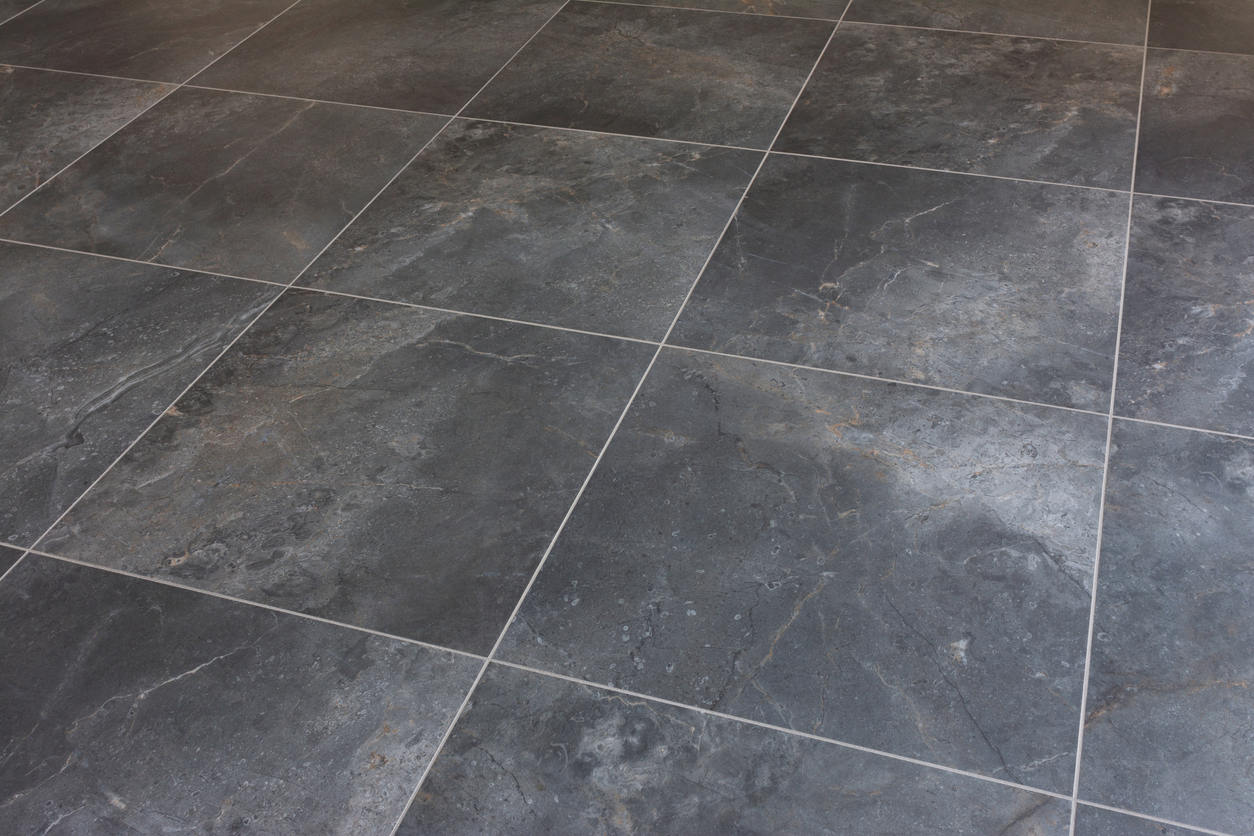
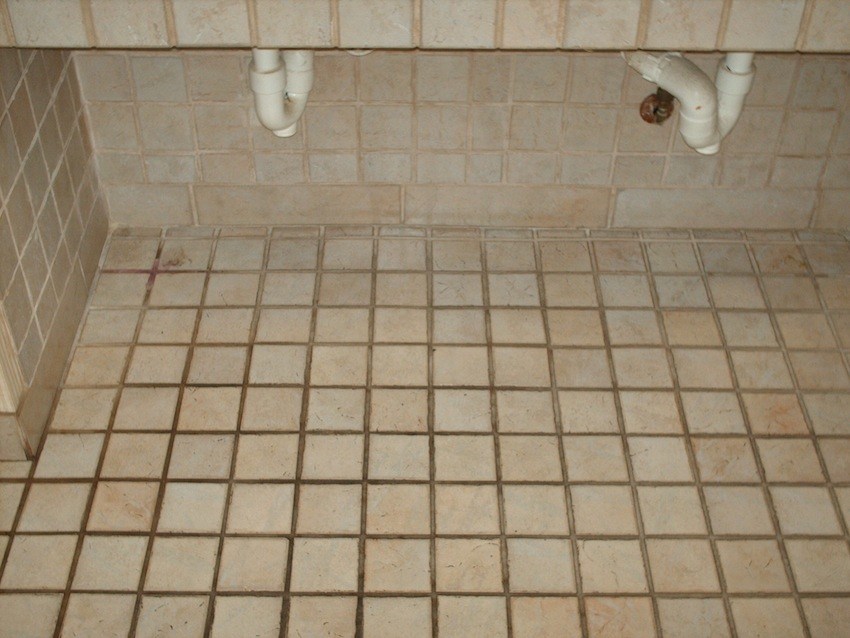
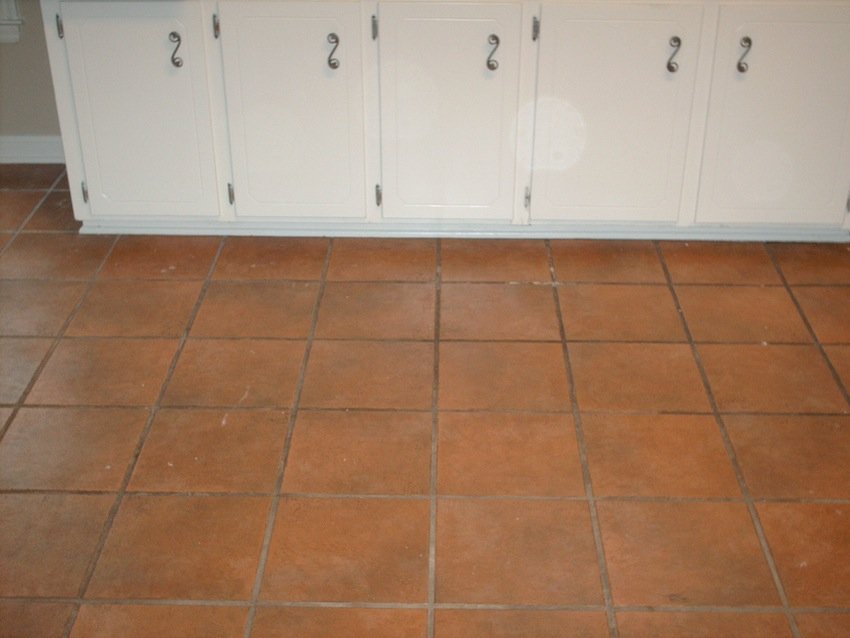
Grout Cleaning Before & After Images


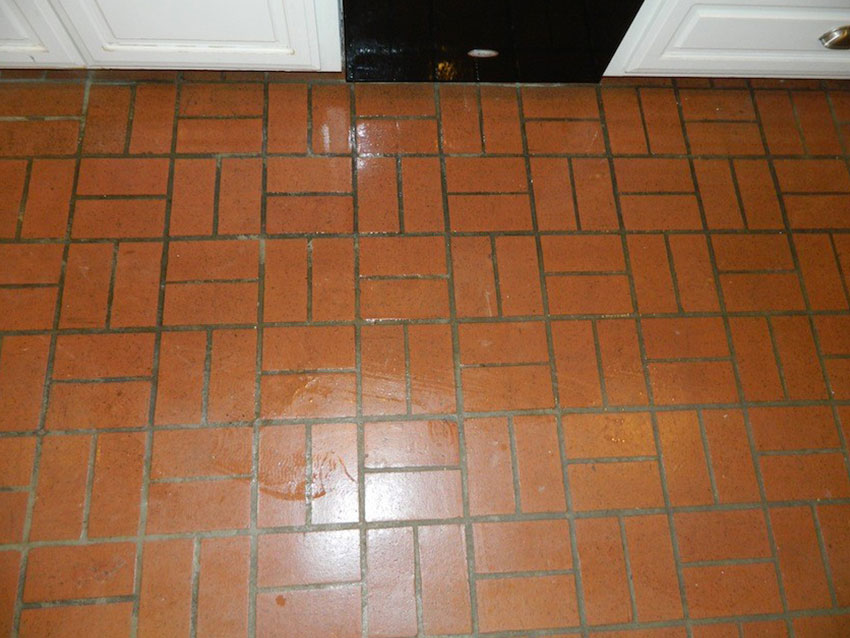

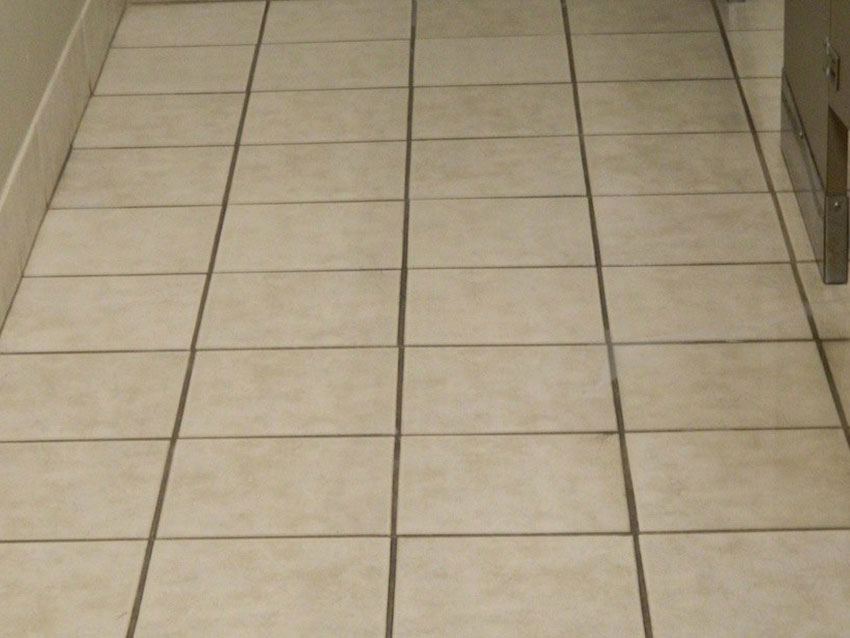

Why Do I Need To Clean It?
Grout comes in an infinite variety of colors and varies from very light to very dark. Regardless of the color, grout does get dirty like everything else in your house, and over time the appearance can change drastically. If your grout is a cement product, stains may be absorbed into the grout through microscopic pores in the surface, which is where sealing comes in.
Sealers, whether clear or colored, penetrating or coating, help prevent staining by filling the pores with a water-repellant material.
How Is Grout Cleaned?
For residential projects, where high-pressure cleaning may not be practical, we have found that there is no substitute for applying a cleaning agent and scrubbing. The choice of cleaners depends upon the chemistry of the contaminants and the degree of staining. We use a wet vac with a squeegee wand to extract the dirty cleaner, then triple rinse and extract the rinsate with the wet vac. This process cleans the tile as well as the grout.
For commercial projects with large open areas, we often use our propane-fire steam pressure washer and a wet vac to clean the tile and grout rapidly.
What It Is & Why You Need It
Grout Sealing
Picture this: you’ve just cleaned your bathroom and you’re looking at your handwork. You’ve cleaned the tub, washed the tile floors, and wiped down the mirror. You’re proud, but somehow your bathroom still doesn’t look quite clean. Why is that? Probably because you didn’t get to the grout cleaning.
Grout Sealing tips
- If you are going to seal your grout yourself, select a high-durability, non-yellowing, penetrating grout sealer. Don’t skimp on this important step by buying a low-cost sealer that needs to be re-applied every couple of years.
- Some sealers are top-coat sealers that wear off easily. Most top-coat sealers do not allow the grout to “breathe”, so any moisture in the grout gets trapped beneath the sealer and causes a milky appearance that shows through the clear coating. It is usually best to avoid these in favor of a penetrating sealer.
- Unless the grout has just been installed, it should definitely be cleaned thoroughly to remove “bond-breakers”, such as grease and oils, before sealing.
- Keep records of the sealers that you use. This information comes in handy if you must later strip the sealer off for any reason. With this information, you can contact the manufacturer and ask for a recommended stripper.
- There are some same-day sealers that may be applied to new uncured grout, but don’t assume that any penetrating sealer is suitable for same-day application. Be sure to read the directions on the sealer packaging to determine how long you must wait to apply that particular sealer to a new installation.
- Some penetrating sealers are colored to match the color of a particular grout product. None of these are classified as same-day sealers. Follow the directions on the packaging very carefully. We have gotten quite a few projects over the years because the home owner did not realize that waiting too long to remove the excess colored sealer from the tile made it nearly impossible to remove.

Cement Based, Epoxy-Based & More
Tile Repair
Tiles that have been damaged due to heavy objects being dropped on them usually have star-shaped cracking, and are candidates for replacement – if you have or can get spares. If you do not have spares saved from the original installation, finding tiles that are an exact match dimensionally and aesthetically may be very difficult, if not impossible.
MYTH: A whole tile can be removed under the refrigerator – without breaking it – and used to replace a broken tile in a more visible area.
NOT LIKELY: If the tile is installed properly, it cannot be removed without breaking it, and possibly several adjacent tiles, as well.
(Hint: Buying and keeping extra tiles for future repairs is very cheap insurance that you may only be able to buy at the time of installation.)
There are many possible causes for loose or broken tiles, and it is important to diagnose the cause correctly before jumping into a repair project.
- Do you hear a crunching sound when you walk on the tile? If so, you probably have a disintegrating mortar bed or an improperly secured cement backerboard flexing up and down on ring-shank nails. - NOT REPAIRABLE
- Is the grout breaking and popping out of the joints all over the floor? If so, the bond between the back of the tiles and the substrate is probably broken. - NOT REPAIRABLE
Whatever the symptoms, if the problem is widespread, the re-bonding solution is probably too expensive to be practical even if it is possible.
Is the damage very localized? If so, it might be repairable, but it depends upon the specific cause. We must first determine that the subfloor is not flexing, that the backer board is not loose, that the grout joint is not superimposed over an open joint between sheets of backer board or plywood, that the tile does not span an expansion joint in the concrete slab below the tile, and that there is no vertical movement in the footer or foundation wall.
If replacement tiles are available, Columbia Tile & Grout can remove the damaged tiles and install new ones in their place.

Loose Tile Re-Bonding &
Tile Replacement
Loose Tile Re-Bonding
- Drill holes in grout to a depth slightly deeper than tile thickness.
- Inject re-bond cement through holes. It will be slowly seep into open spaces beneath loose tiles.
- Allow to cure for a minimum of 24 hours, then regrout and seal or color-seal.
Damaged Tile Replacement
- Completely remove grout around damaged tile(s).
- Cut or break tile into pieces and remove.
- Repair mortar bed or cement backer board with new mortar. Allow new mortar to cure.
- Install replacement tile thin-set mortar or tile adhesive. Allow new thin-set mortar or adhesive to cure before grouting. (Cure time varies from 2 to 24 hours, depending upon the product used.)
- Install grout around new tile.
- Seal or stain new grout. (Allow new grout to cure before staining.)
Showers, Tub Surrounds & Countertops
Water Damage Repair
Until recently, the tile, grout, and caulk of any tile installation in wet areas was intended to be part of the “waterproofing” system that may have also included lead, copper, hot-mopped tar, plastic, or paint-on latex liners. The problem with this type of waterproofing system is that even if every component is expertly installed, it is really only highly water resistant—not waterproof. No grout—not even epoxy grout—is totally waterproof. Water eventually seeps through the grout and through the seams in the liners and makes its way to the underlying substrate, which is usually a wood, plaster, mortar, cement, or gypsum product that can be permeated or damaged by water. In the case of cement backer boards and mortar beds, water may not damage them but will pass all the way through them until it begins to saturate wood and insulation materials, where mold can readily grow. When water seeps slowly into plywood, it may take a long time before the damage is visible below because it is absorbed into the top side of the wood, which rots from the top down.
DIY Grout Cleaning tips
- Cracked tiles
- Bulges in tile
- Musty, earthy smell
- Moldy cracks in tile or grout
- Areas of grout that always remain damp
- Tiny insects and “worms” crawling in and out of cracks and crevices
- Persistent mold growing all the way through the caulk or grout from the back side
- Whitish stain on the surface of the grout
- Movement of tiles when pressure is applied
- Grayish crust building up on grout joints of shower floor or bench
- Mold and water stains on walls and floor outside of shower or tub
- Open grout and caulk joints
- A rattle or hollow sound when the tile is tapped with something solid
- Discoloration of vertical grout joints for several inches above shower floor or tub
Water Damage Repair
The first thing that must be done is to remove all of the material that has been damaged by water. Precautions must be taken to prevent the spread of mold spores and fine dust particles through the room air or the ventilation system. This means containment and shrouding, HEPA-filtration of the room air, collection of dust with HEPA-filter vacuums, sticky pads at the room exits, and surface protection film or drop cloths along the entire route from the work zone to the outside door. Each of our portable HEPA-filter air scrubbers is capable of filtering 500 cubic feet of air per minute and exhausting the clean air to the outside. This prevents the discharge stream from stirring up dust in other parts of the home.
After the demolition and removal are complete, we replace the substrate materials with new clean materials. In locations where the finished structures will be in contact with water (e.g. showers, tub surrounds, and countertops around sinks), we use Schluter Systems, Inc.’s Kerdi brand of waterproofing components – shower drain, Kerdiboard, Kerdi fabric, Kerdi-Fix adhesive, Kerdi shower tray, Ditra crack isolation/vapor management/waterproofing membrane, etc. Properly installed, these waterproofing components provide a 10-year warranty from the manufacturer against failure leading to water damage.