
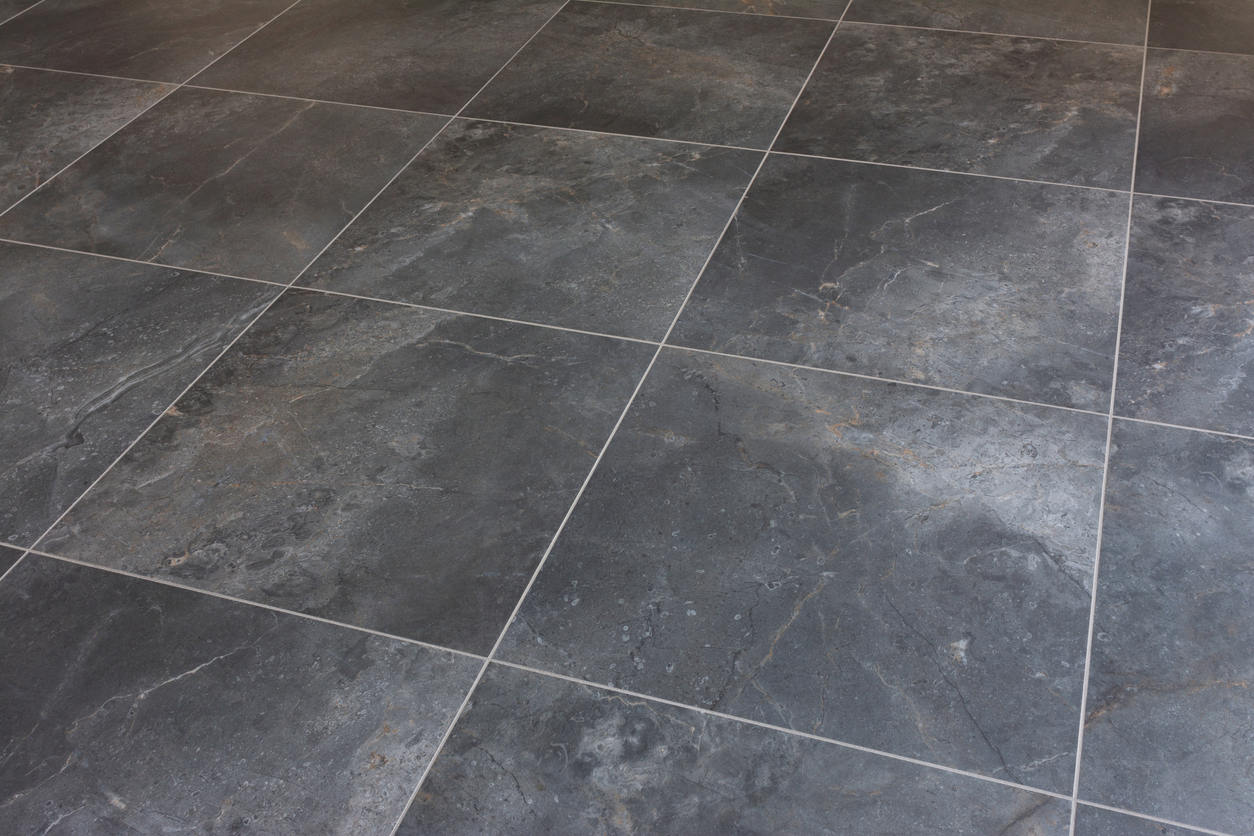
Floor Replacement on Wood Sub-Floor
Floors
Protect adjacent surfaces as necessary. Use portable HEPA-filter air scrubbers and HEPA-filter vacuums to capture as much dust as possible at points of generation, and remove tile and tile substrate down to the subfloor. Remove and replace damaged wood (if any). Dispose of all demolition debris. Install cement backer board on the subfloor and install a self-leveling compound if necessary. Install Schluter-DITRA uncoupling-waterproofing membrane on top of the leveling compound after it has cured. Install new tile (to be selected and provided by Customer). Install grout (color to be selected by Customer), caulk, and grout sealer. See the attached cost breakdown sheet for details.
Floor Replacement on Cement Slab
Protect adjacent surfaces as necessary. Use portable HEPA-filter air scrubbers and HEPA-filter vacuums to capture as much dust as possible at points of generation, and remove tile and tile substrate down to the cement slab. Dispose of all demolition debris. Install self-leveling compound if necessary. Install Schluter-DITRA uncoupling-waterproofing membrane on a cement slab. Install new tile (to be selected and provided by Customer) on DITRA using unmodified thinset. Install grout (color to be selected by Customer), caulk, and grout sealer. See the attached cost breakdown sheet for details.
Remove Tile & Tile Substrates
Tub Surrounds
Protect adjacent surfaces as necessary. Using portable HEPA-filter air scrubbers and HEPA-filter vacuums to capture as much dust as possible at generation points, remove tile and tile substrates, and damage wood (if any). Dispose of all demolition debris. Create a completely waterproof envelope around the tub surround by installing Schluter Systems Inc.’s Kerdi brand of waterproof products, including Kerdi-Board on walls, and Kerdi-Fix polysilane caulk in corner joints. Install new tile (to be selected and provided by Customer). Install grout (type and color to be selected by Customer) and caulk (color to be selected by Customer). Install grout sealer. See the attached cost breakdown sheet for details.
Re-Tiling a Tub Surround - Before & After Photo's


Tub Surround Replacement (with tub replacement)
Protect adjacent surfaces as necessary. Using portable HEPA-filter air scrubbers and HEPA-filter vacuums to capture as much dust as possible at generation points, remove tile and tile substrates, and damage wood (if any). Dispose of all demolition debris. Create a completely waterproof envelope around the tub surround by installing Schluter Systems Inc.’s Kerdi brand of waterproof products, including the waterproof membrane, tile backer board on walls, and Kerdi-Fix polysilane caulk in corner joints. Install new tile (to be selected and provided by Customer). Install grout (color to be selected by Customer), caulk, and grout sealer. See the attached cost breakdown sheet for details.
Shower Replacement (Without Tiled Ceiling)
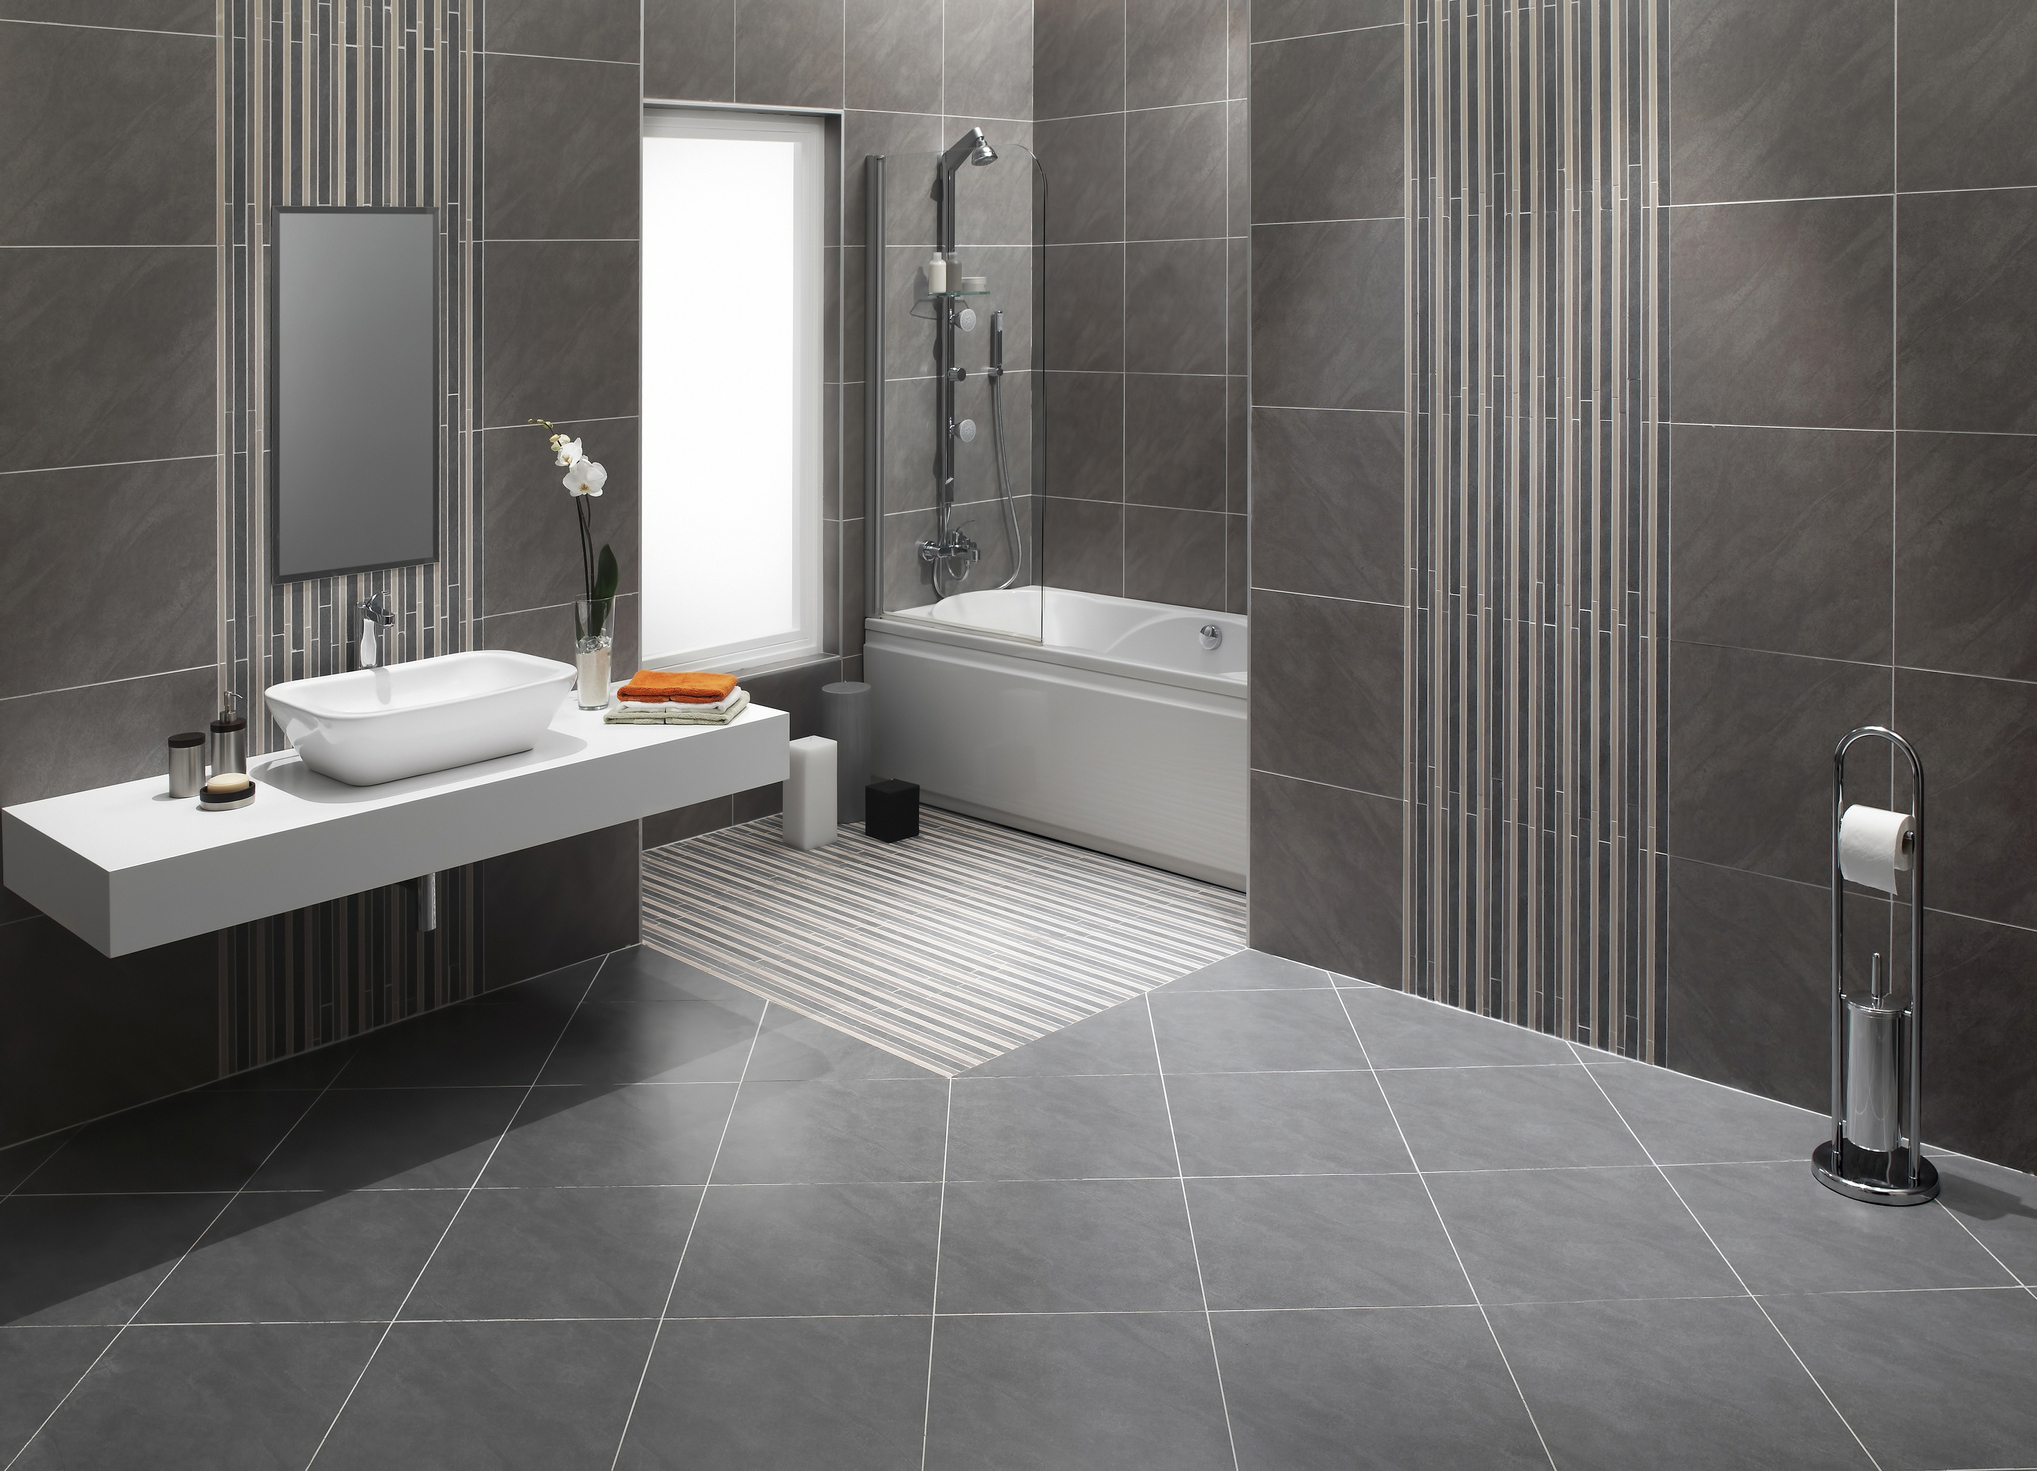
Showers
Protect adjacent surfaces as necessary. Using portable HEPA-filter air scrubbers and HEPA-filter vacuums to capture as much dust as possible at generation points, remove tile and tile substrates (including shower pan mortar bed), shower drain, and damaged wood (if any). Dispose of all demolition debris. Create a completely waterproof envelope around the shower by installing Schluter Systems Inc.’s Kerdi brand of waterproof products, including the shower tray, curb, drain, waterproof membrane, tile backer board on walls, Kerdi-Fix polysilane caulk in corner joints, and flashing between the shower tray and walls (including curb). Install new tile (to be selected and provided by Customer) on walls, shower tray, curb, door jambs, and header. Install grout (type and color to be selected by Customer) and caulk (color to be selected by Customer). Install grout sealer; see attached cost breakdown sheet for details.
Shower Replacement (With Tiled Ceiling)
Protect adjacent surfaces as necessary. Using portable HEPA-filter air scrubbers and HEPA-filter vacuums to capture as much dust as possible at generation points, remove tile and tile substrates (including shower pan mortar bed), shower drain, and damaged wood (if any). Dispose of all demolition debris. Create a completely waterproof envelope around the shower by installing Schluter Systems Inc.’s Kerdi brand of waterproof products, including the shower tray, curb, drain, waterproof membrane, tile backer board on walls, Kerdi-Fix polysilane caulk in corner joints, and flashing between the shower tray and walls (including curb). Install new tile (to be selected and provided by Customer) on walls, shower tray, curb, door jambs, header, and ceiling. Install grout (type and color to be selected by Customer) and caulk (color to be selected by Customer). See the attached cost breakdown sheet for details.
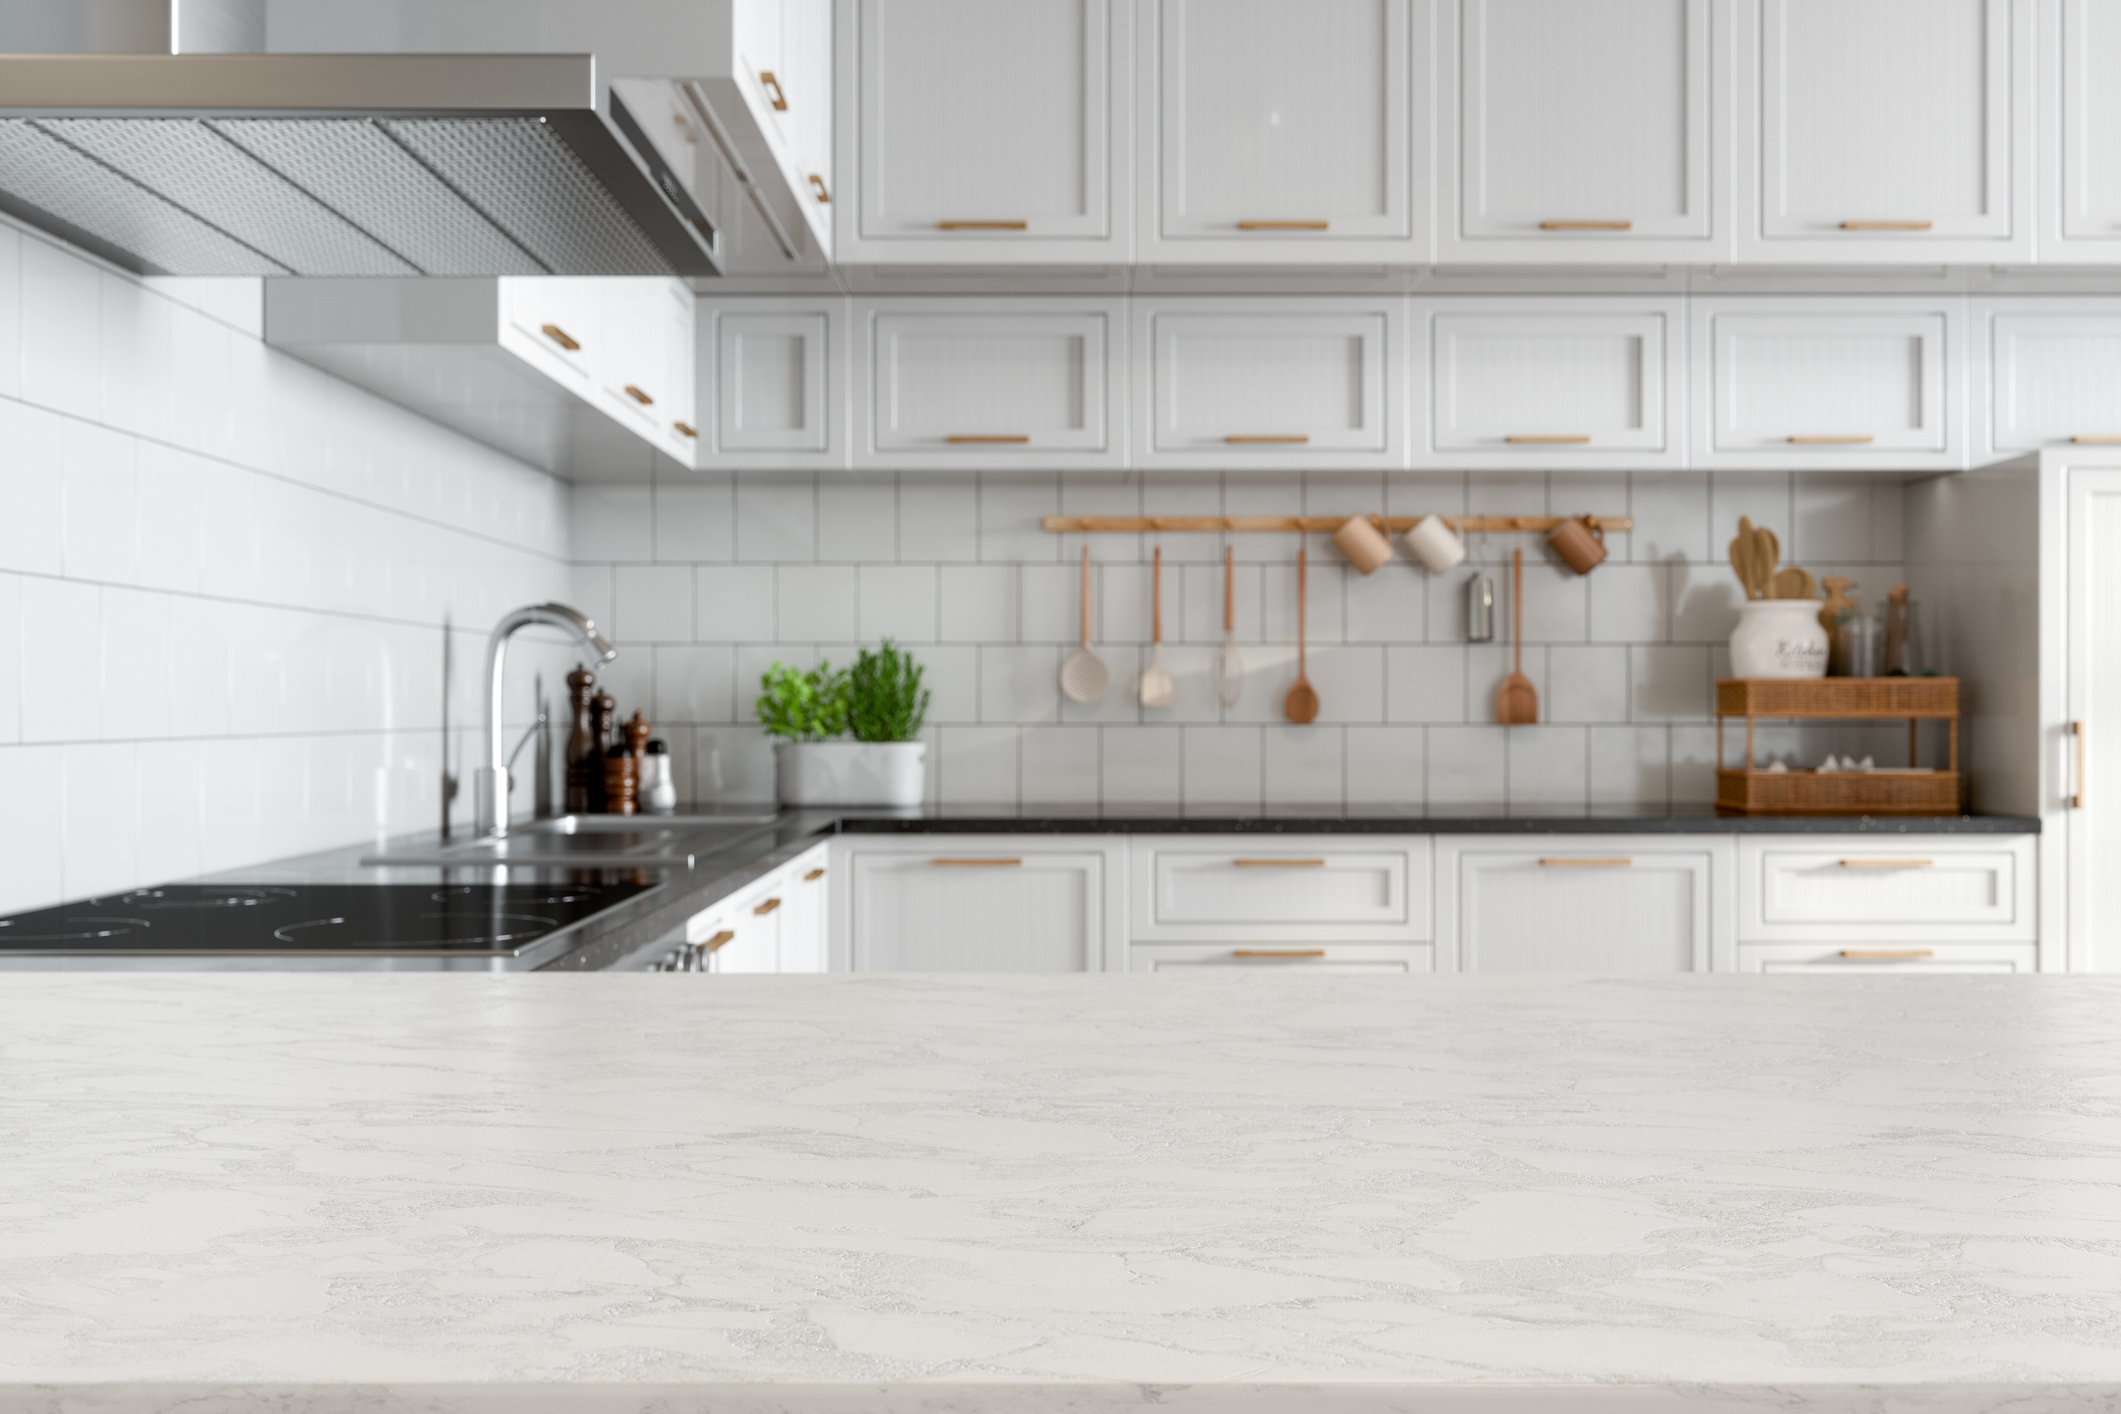
Granite, Quartz, Polished Concrete & More
Countertop & Backsplash Trends
One current trend is to replace tiled countertops with solid surface slabs made of materials like granite, quartz, polished concrete, and various made-made products. Another is to tile the countertops with glass and metallic mosaics, which carry some special setting requirements. These mosaics are more difficult to bond to the substrate, are easily damaged during cutting and grouting, and look terrible if back of the mat gets less than 100% coverage with the setting adhesive. Professional expertise and skill are required to produce the beautiful result you see in promotional photos and in model homes. Please call Columbia Tile & Grout if you are interested in upgrading your countertops and backsplashes with glass or mosaic tiles. Our tile setters do beautiful work that will endure for many years.
Tiled backsplashes are as popular as ever, and we work with all of the natural stone and tile products available. For natural stone installations, we recommend sealing the product thoroughly to prevent permanent staining from grease and food materials. For the same reason, we also recommend the use of epoxy grout, which is much more stain resistant than cement-based grouts.

Wall Installation & More
Walls
Columbia Tile & Grout Services removes tiled wall installations and installs new tile on walls. However, the recent trend is to replace tiled wainscoting with painted sheetrock or beadboard. This saves money and provides a more updated appearance.
Even when the homeowner does not wish to replace tile with tile, it is a good idea to hire Columbia Tile & Grout Services to perform the removal because we will use our portable HEPA-filter air scrubbers and dust management expertise to protect the home environment from contamination with hazardous silica dust to the greatest extent practicable.
Re-tiling projects invariably include at least some demolition to remove the existing tile installation. The breaking, cutting, and grinding of cement and masonry products are messy. But demolition debris is not just a housekeeper’s nightmare, it is also a serious health threat. Chronic long-term exposure and brief high-level exposure to the silica dust that is produced can cause silicosis, a horrible, disabling, and usually fatal lung disease. For people who suffer from asthma, emphysema, or other respiratory conditions, short-term low-level exposure to the dust can be life-threatening. Therefore, before we begin the demolition process, we prepare the work zone with project-specific dust control measures, that may include:
- Installation of Zip Walls & Zip Doors to isolate the air in the construction zone from the rest of the building.
- Sealing off the air vents and returns inside the work zone.
- Deployment of one or two HEPA-filter air scrubbers, each capable of filtering 99.97% of all dust particles greater than 0.3 micron from 500 cubic feet of air per minute. When necessary, these can be set up as negative air machines outside the work zone by sealing the air intake port to a hole cut in a Zip Wall or Zip Door.
- Running exhaust ducts from each air scrubber to outside the home, so that the clean, but powerful air streams do not stir up resident dust from the rest of the building.
- Use of HEPA-filter dust extractors on tools which are fitted with vacuum extraction ports.
- Use of HEPA-filter vacuums to capture fine dust when cleaning up demolition debris.
- Use of sticky mats at entrances to containment zone.
- Placement of drop clothes along the pathway between the work zone and the building exit.
- Use of self-adhesive carpet protection film that can be vacuumed to remove dust. This prevents dust from getting down inside the pile of the carpet.
Additional dust control measures may be established, as appropriate for any specific project.

Showers, Tub Surrounds & Countertops
Water Damage Repair
Until recently, the tile, grout, and caulk of any tile installation in wet areas was intended to be part of the “waterproofing” system that may have also included lead, copper, hot-mopped tar, plastic, or paint-on latex liners. The problem with this type of waterproofing system is that even if every component is expertly installed, it is really only highly water resistant—not waterproof. No grout—not even epoxy grout—is totally waterproof. Water eventually seeps through the grout and through the seams in the liners and makes its way to the underlying substrate, which is usually a wood, plaster, mortar, cement, or gypsum product that can be permeated or damaged by water. In the case of cement backer boards and mortar beds, water may not damage them but will pass all the way through them until it begins to saturate wood and insulation materials, where mold can readily grow. When water seeps slowly into plywood, it may take a long time before the damage is visible below because it is absorbed into the top side of the wood, which rots from the top down.
DIY Grout Cleaning tips
- Cracked tiles
- Bulges in tile
- Musty, earthy smell
- Moldy cracks in tile or grout
- Areas of grout that always remain damp
- Tiny insects and “worms” crawling in and out of cracks and crevices
- Persistent mold growing all the way through the caulk or grout from the back side
- Whitish stain on the surface of the grout
- Movement of tiles when pressure is applied
- Grayish crust building up on grout joints of shower floor or bench
- Mold and water stains on walls and floor outside of shower or tub
- Open grout and caulk joints
- A rattle or hollow sound when the tile is tapped with something solid
- Discoloration of vertical grout joints for several inches above shower floor or tub
Water Damage Repair
The first thing that must be done is to remove all of the material that has been damaged by water. Precautions must be taken to prevent the spread of mold spores and fine dust particles through the room air or the ventilation system. This means containment and shrouding, HEPA-filtration of the room air, collection of dust with HEPA-filter vacuums, sticky pads at the room exits, and surface protection film or drop cloths along the entire route from the work zone to the outside door. Each of our portable HEPA-filter air scrubbers is capable of filtering 500 cubic feet of air per minute and exhausting the clean air to the outside. This prevents the discharge stream from stirring up dust in other parts of the home.
After the demolition and removal are complete, we replace the substrate materials with new clean materials. In locations where the finished structures will be in contact with water (e.g. showers, tub surrounds, and countertops around sinks), we use Schluter Systems, Inc.’s Kerdi brand of waterproofing components – shower drain, Kerdiboard, Kerdi fabric, Kerdi-Fix adhesive, Kerdi shower tray, Ditra crack isolation/vapor management/waterproofing membrane, etc. Properly installed, these waterproofing components provide a 10-year warranty from the manufacturer against failure leading to water damage.